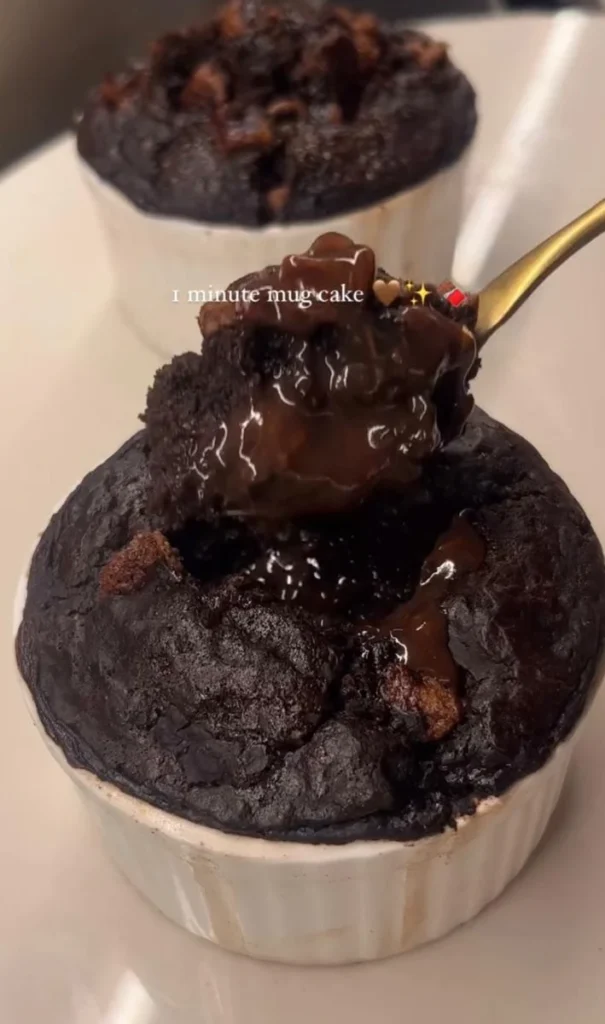
Rich, decadent, and absolutely delicious, this chocolate mug cake has quickly become a favorite among viewers who have tried it. Many have raved about how much they love this cake, finding it to be a perfect treat when cravings hit. If you’ve ever been disappointed by other chocolate mug cakes in the past, this is the one you need to try. It stands out from the rest and is sure to impress! This recipe combines the perfect balance of ingredients to create a moist and flavorful cake that’s ready in just minutes. Whether you’re enjoying it on your own or sharing it with friends, it’s a delightful indulgence that will not let you down. So, don’t hesitate to give this chocolate mug cake a shot! You won’t regret it, and it just might become your go-to dessert for those sweet moments.
PROCESS:
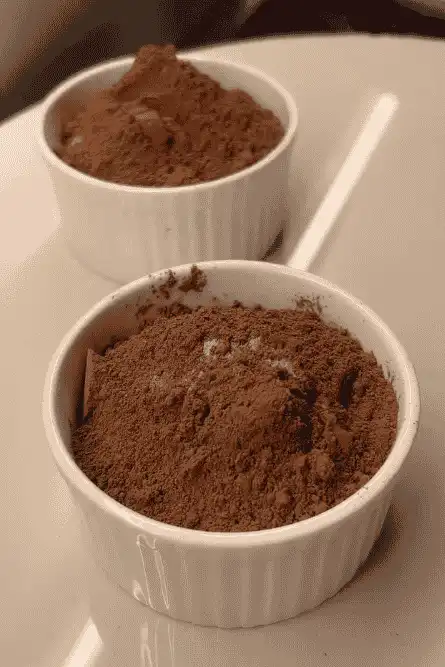
- First, mix the dry ingredients flour, sugar, cocoa powder, baking powder, and a pinch of salt in a microwave-safe mug.
- Next, add the wet ingredients, including milk, vegetable oil, and vanilla extract, and stir until the batter is smooth and lump-free.
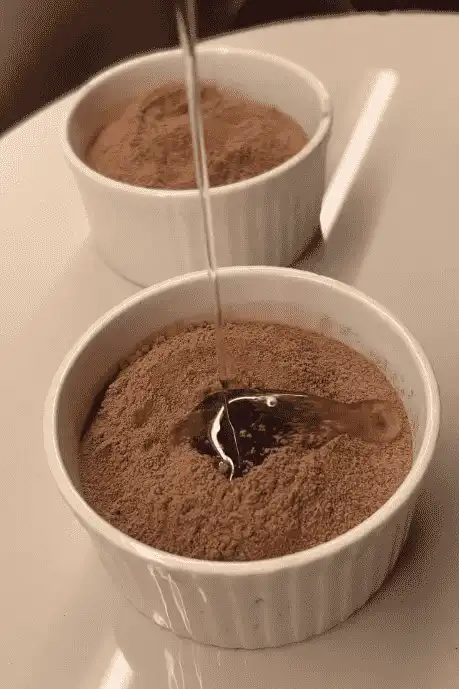
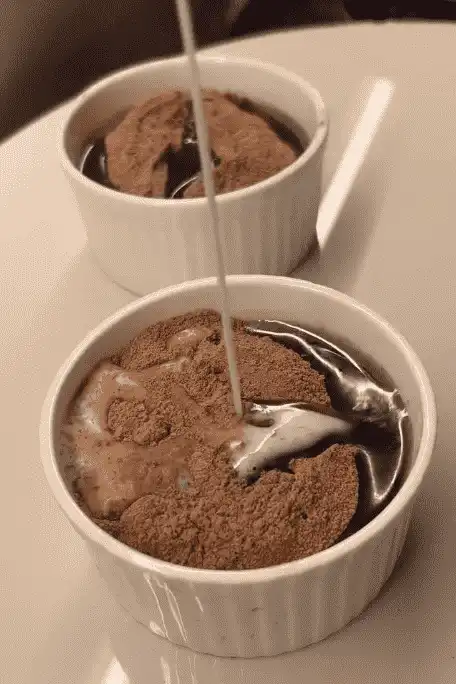
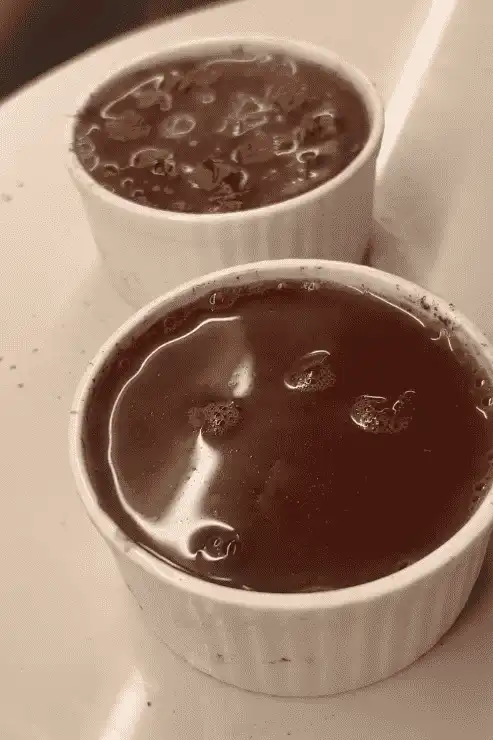
- Boil some water in a saucepan, then sprinkle brown sugar and cocoa powder on top of the batter and pour the boiling water over it. Microwave the mug for about 1 minute, keeping an eye on it to prevent overflow.
- Finally, let the mug cake cool for a minute before enjoying it, and feel free to top it with whipped cream or ice cream if you like!
Here’s what you are going to need to make it:
Flour: This is what makes up the bulk of the cake and gives it structure.
Sugar: Sweetens the cake and keeps it from being dry.
Baking Powder: Helps the cake rise so it’s nice and fluffy.
Cocoa Powder: Gives that delicious chocolate flavor.
Salt: Just a bit helps to enhance the sweetness.
Milk: Adds moisture and helps blend everything together.
Vegetable Oil: Keeps the cake soft and moist.
Vanilla Extract: Adds a nice flavor that makes everything taste better.
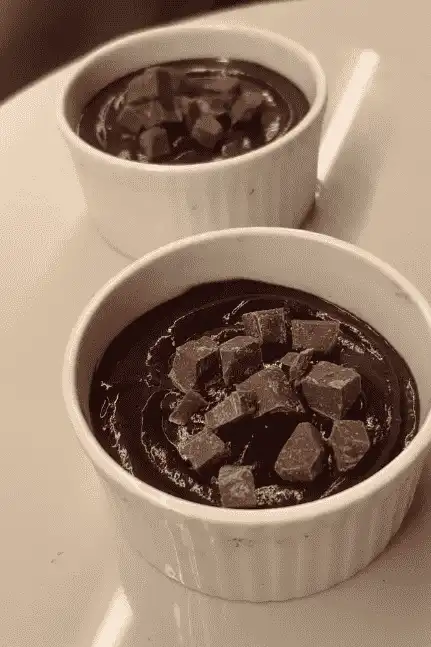
Chocolate Chips: Optional, but they add extra chocolatey goodness when they melt.
Brown Sugar: Sprinkled on top for a sweet, caramel flavor.
Additional Cocoa Powder: For a little extra chocolatey kick.
Boiling Water: Helps keep the cake moist as it cooks.
INGREDIENTS:
- 3 tablespoons of flour
- 3 tablespoons of sugar
- 1/2 tsp of baking powder
- 2 tbsps. of cocoa powder
- 1/4 tsp of salt
- 3 tbsps. of milk
- 2 tbsps. of veg oil (i use rice bran)
- 1/4 tsp of vanilla
- 1 tbsp of choc chips (optional
- 2 tsps. of brown sugar
- 1 tbsps. of cocoa powder
- 3 tbsps. of boiling water
INSTRUCTIONS:
Step 1: Combine Dry Ingredients
- In a microwave-safe mug, combine the flour, sugar, cocoa powder (if using), baking powder, and a pinch of salt. Stir well to ensure everything is evenly mixed.
Step 2: Add Wet Ingredients
- Pour in the milk, vegetable oil, and vanilla extract. Stir until a smooth batter is achieved, while making sure that the batter is lump-free. Add chocolate chips or nuts at this stage if you wish.

Step 3: Boil water
- In a saucepan boil water to pour on top of the mug cake.
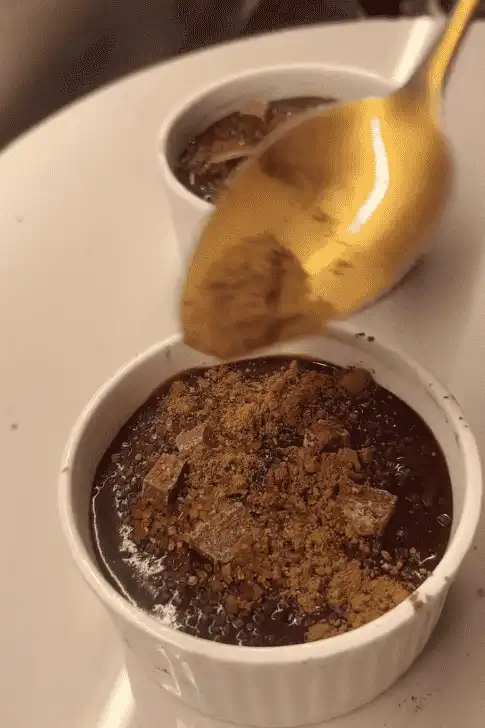
Step 4: Sprinkle cocoa powder and boiling water
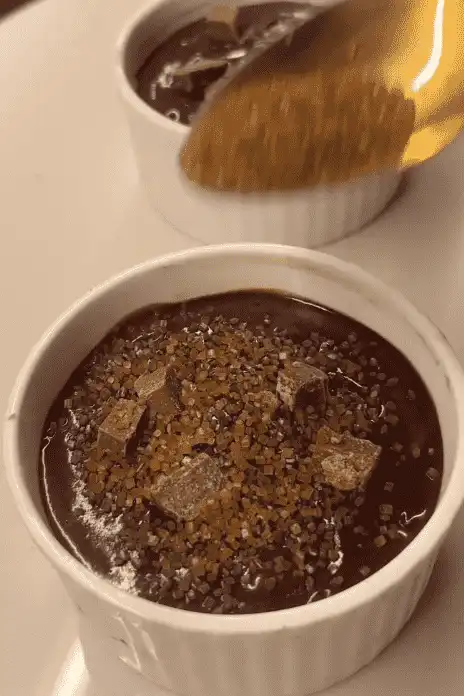
- Sprinkle over the brown sugar then cocoa powder. Carefully pour the boiling water on the top. Place the mug in the microwave and cook on high for about 1 minute.
Step 5: Serve
- Let the mug cake cool for a minute before eating. Top with whipped cream or a scoop of ice cream if desired.
Tips and Notes:
- Microwave power can vary, so you might need to adjust the cooking time. Start with 1 minute and add extra time in 10-second intervals if needed.
- Keep an eye on the mug while it cooks to prevent it from overflowing. Using a larger mug can help with this.
- Feel free to experiment with flavors! You can add a dash of cinnamon, instant coffee, or even peanut butter for different tastes.
- For extra richness, consider adding chocolate chips, nuts, or dried fruit to the batter before microwaving.
- Serve the mug cake warm for the best experience, and try pairing it with whipped cream, ice cream, or a drizzle of chocolate syrup.
- Mug cakes are best enjoyed fresh. If you have leftovers, store them in the fridge and reheat briefly in the microwave.
- For a healthier version, you can substitute some of the flour with almond flour or use a sugar substitute.
- Use a gluten-free flour blend instead of regular flour for a gluten-free mug cake.
- Don’t hesitate to try different types of cocoa powder or flavored extracts to customize your cake!